I thought I'd take a moment to say hi and to share some updates on what's been happening over here. After focusing on recipes, stories, and images for this space for 7 years, I didn't want to simply vanish!
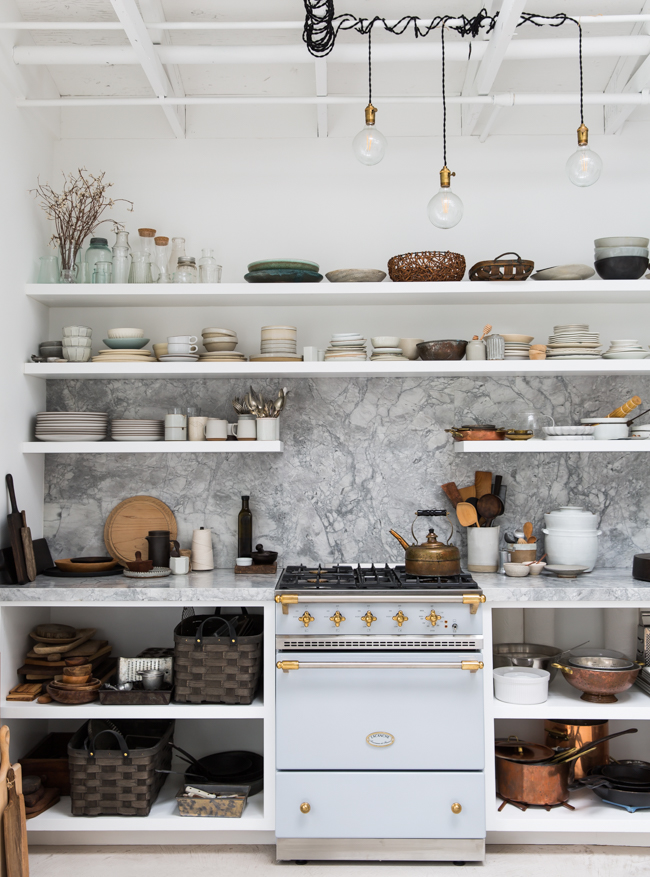
Beyond the full-on craziness of the state of the world, and the personal surrealness of having a kid going off to college, I've also been busy working on some amazing projects and I thought I'd share a few highlights, like my new studio (pictured above!). And if you really want to dive into a full array of my most recent work, hop on over to my photography website - that's where all the action is...

...................


......................
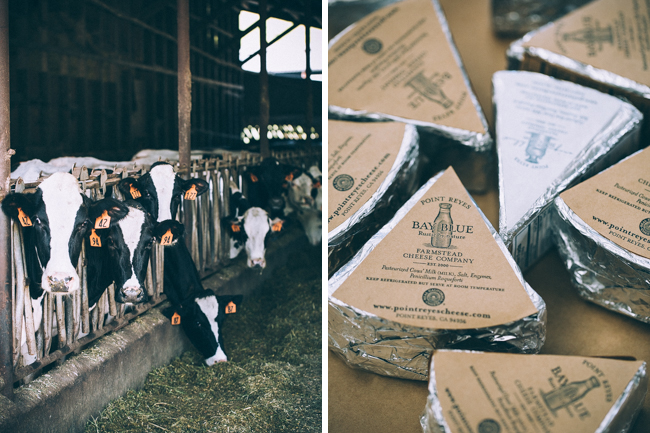
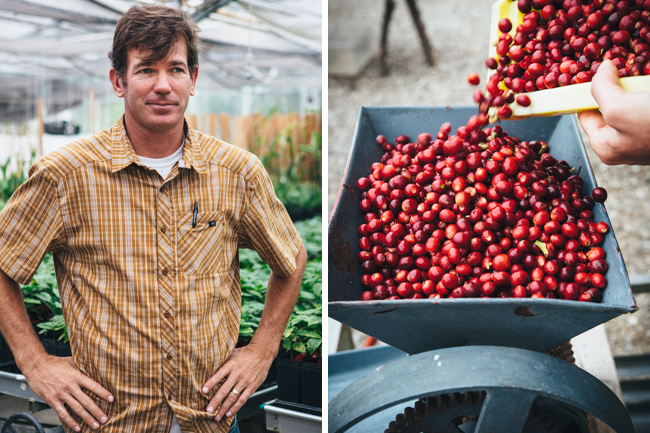
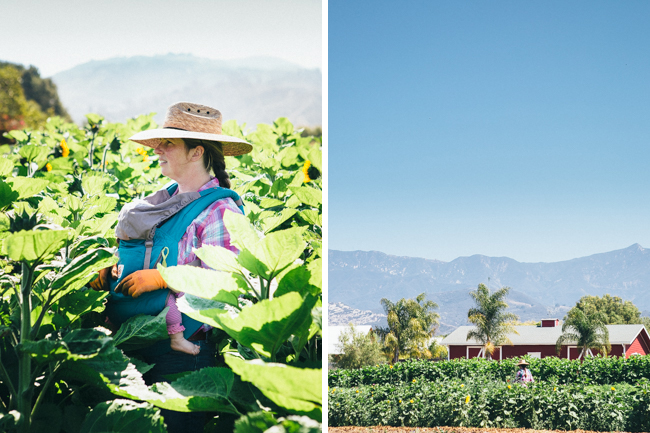
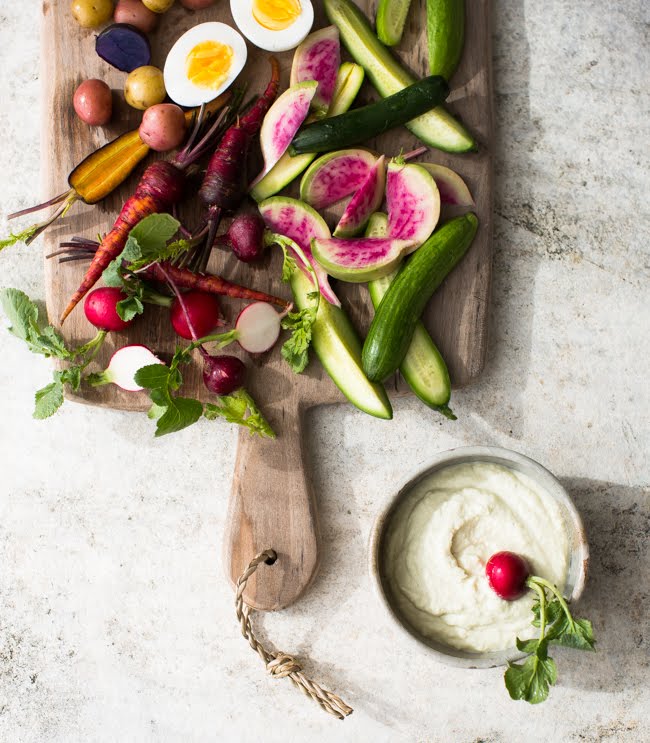
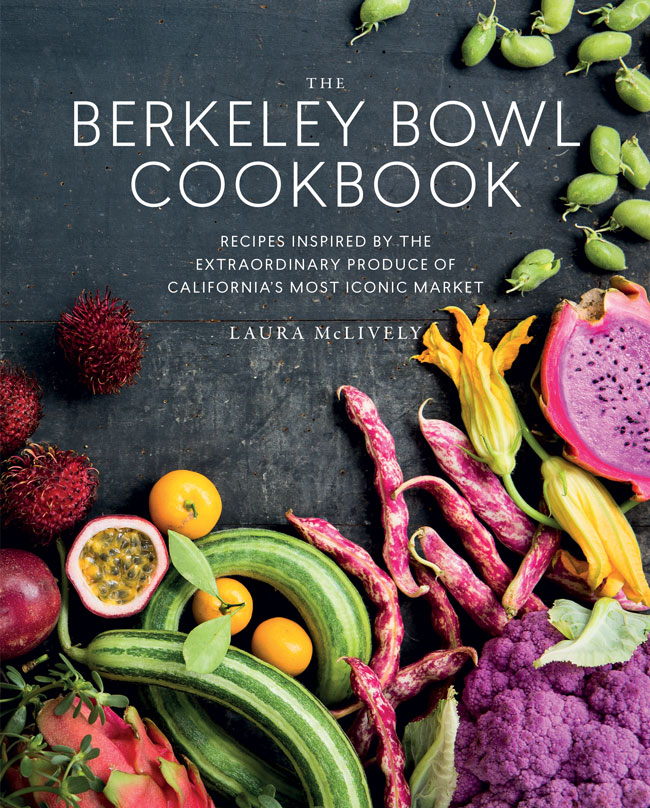
The Berkeley Bowl Cookbook: Another project that resonated with the roots of my love of cooking was photographing the Berkeley Bowl Cookbook. Working with an all local crew made this project even more special. Keep your eye out for this one! It comes out next month.
..................
Hope you all are well!
xoxo
E